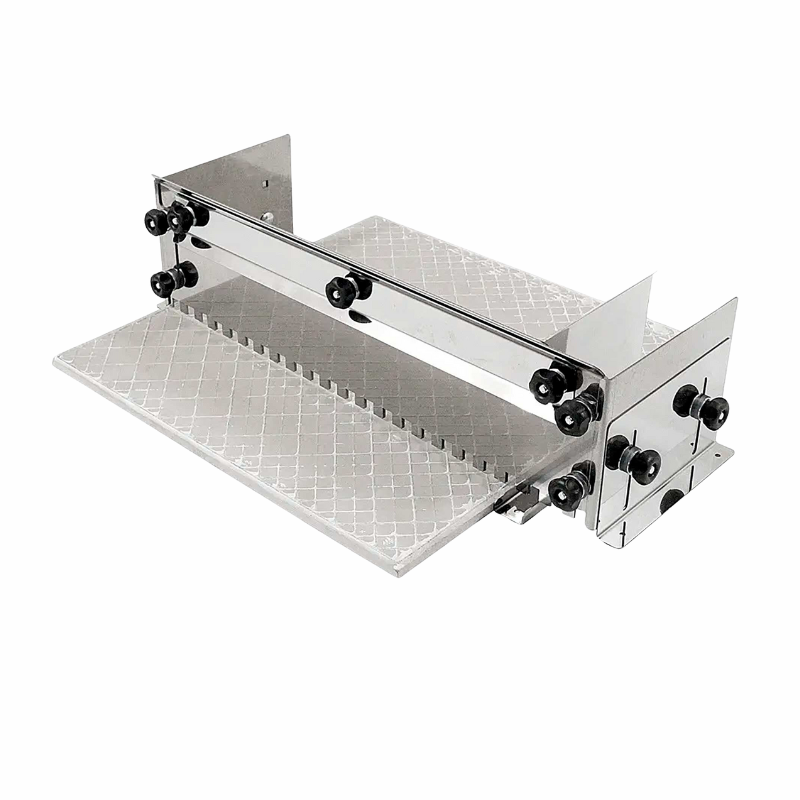
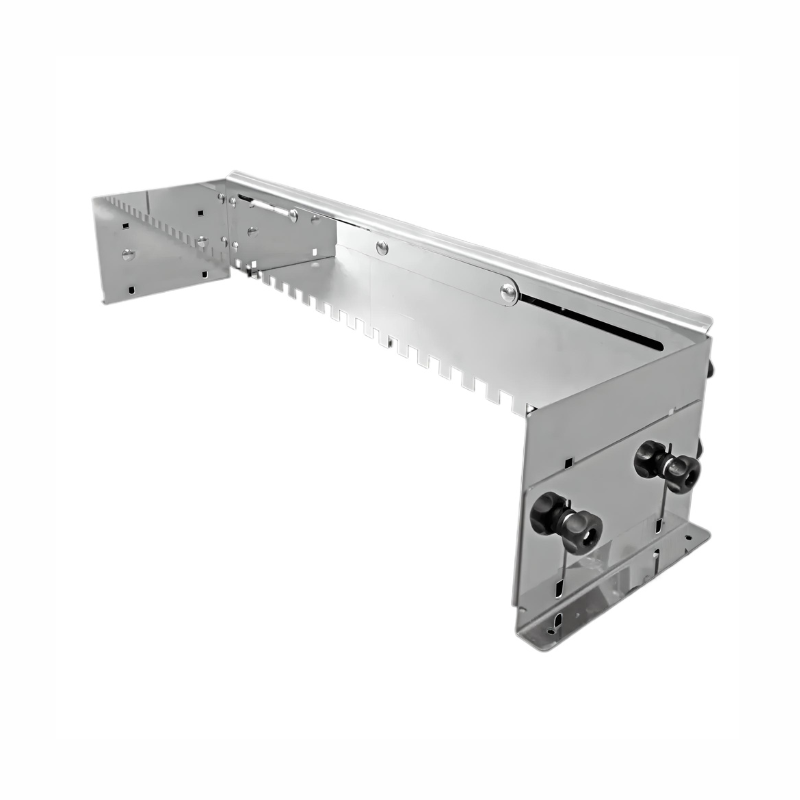
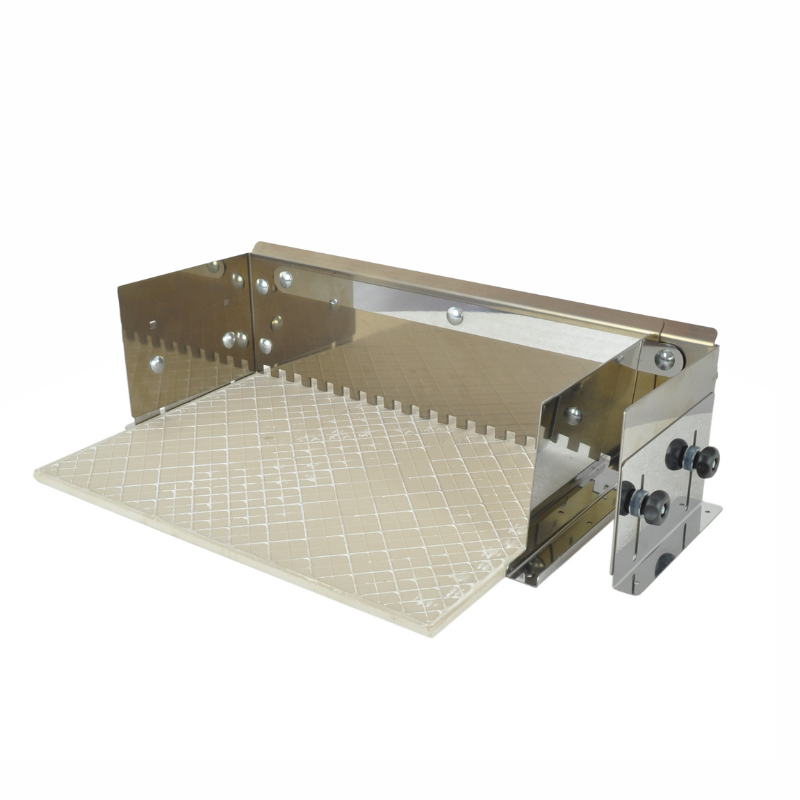
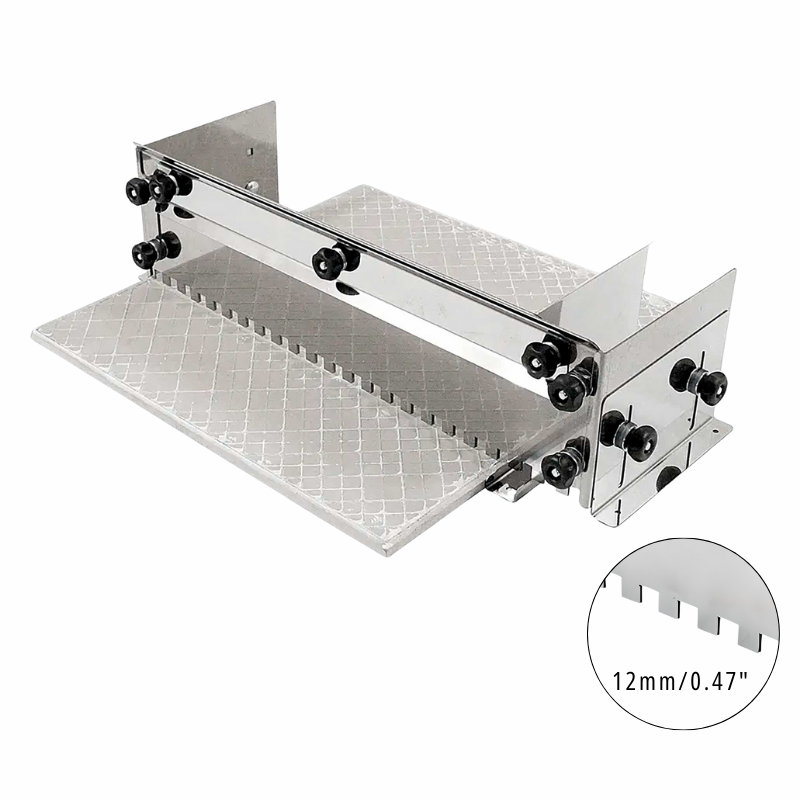
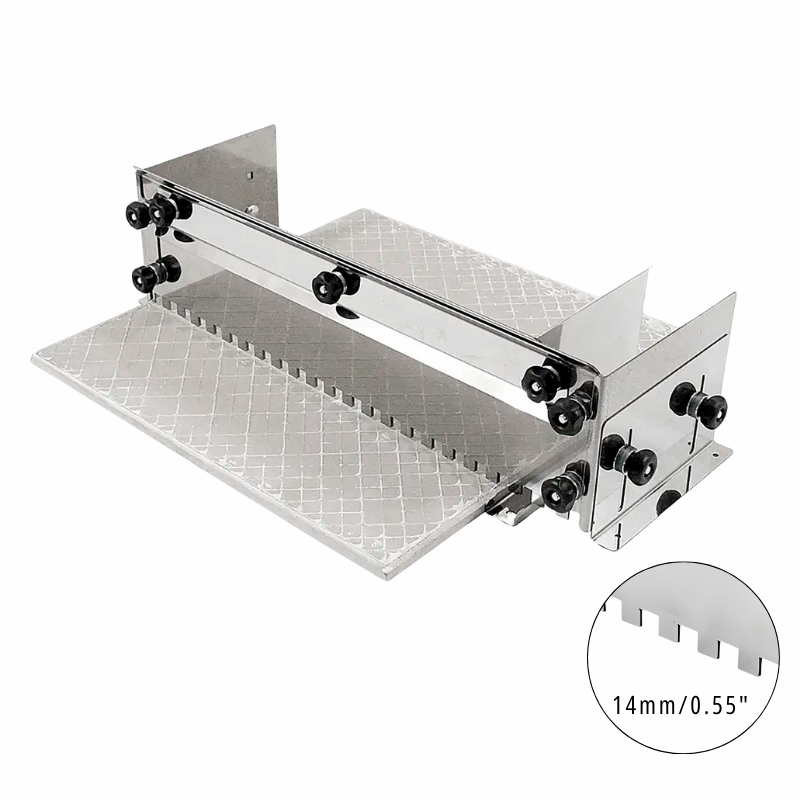
Adjustable notched trowel for fast and equal application of adhesive on the floor
Adjustable notched trowel for fast and equal application of adhesive on the floor - 8mm is backordered and will ship as soon as it is back in stock.
Couldn't load pickup availability
Delivery and Shipping
Delivery and Shipping
Free Delivery on orders over £50.00
Description
Description
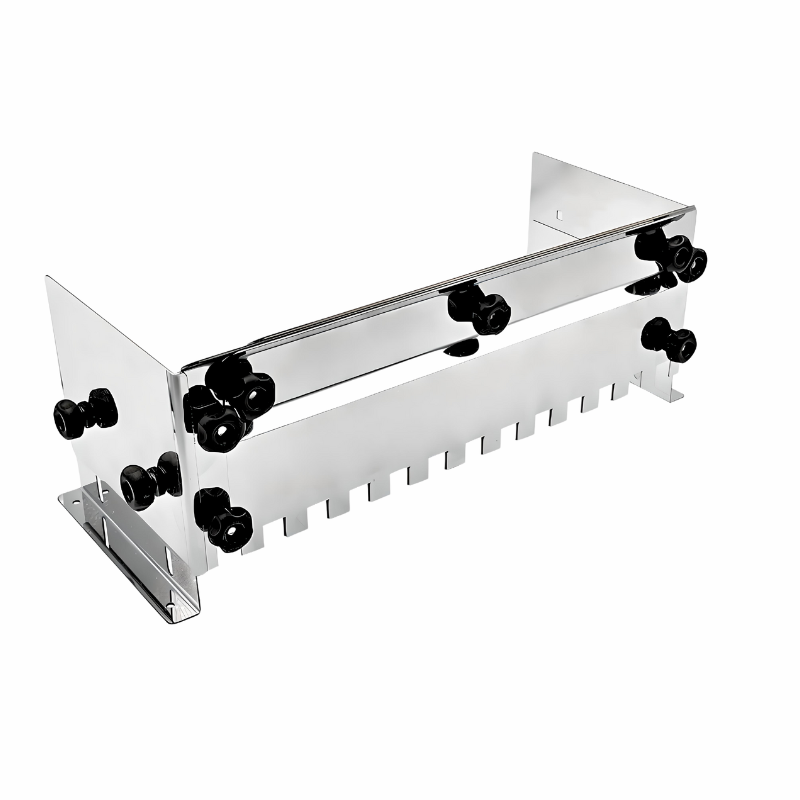
Adjustable notched tile trowel: fast, comfortable, quality.
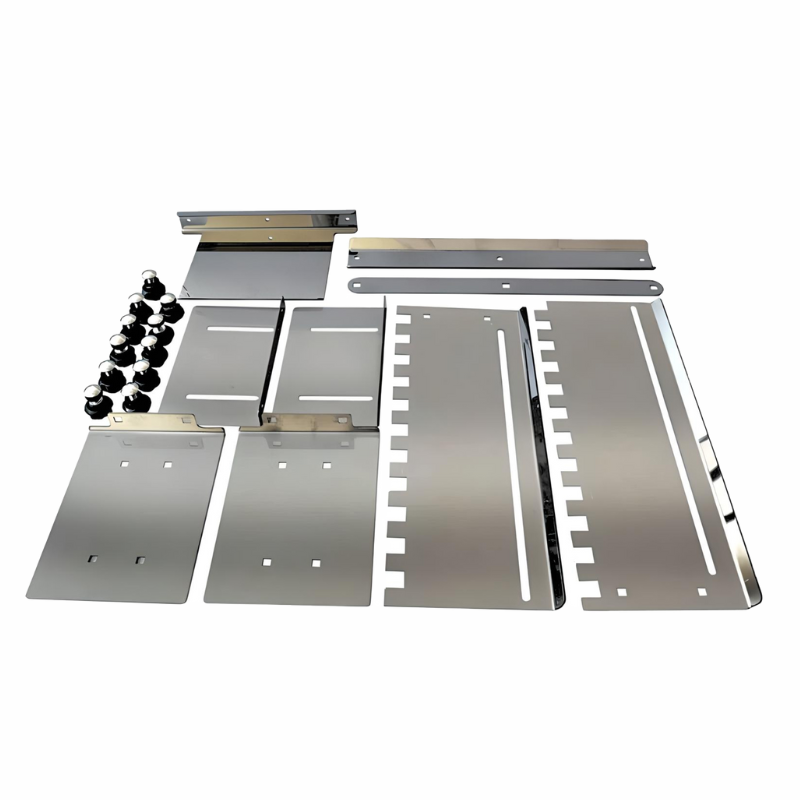
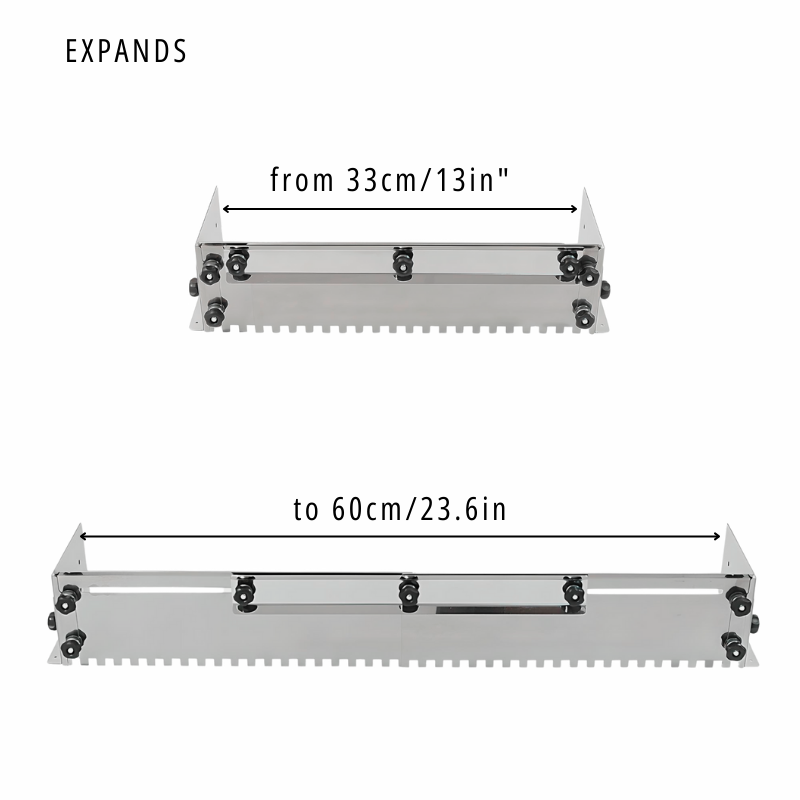
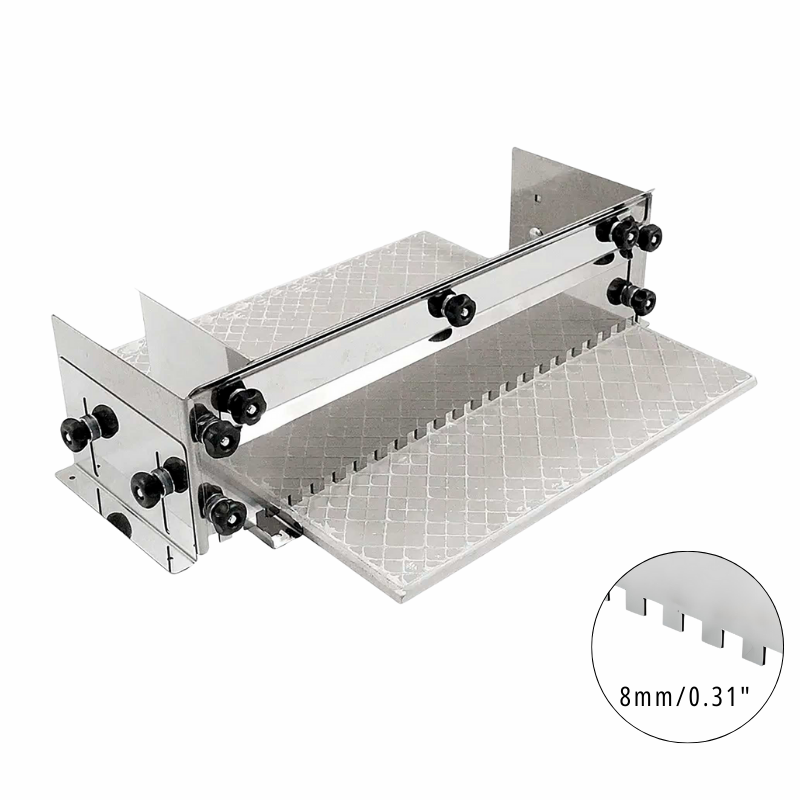
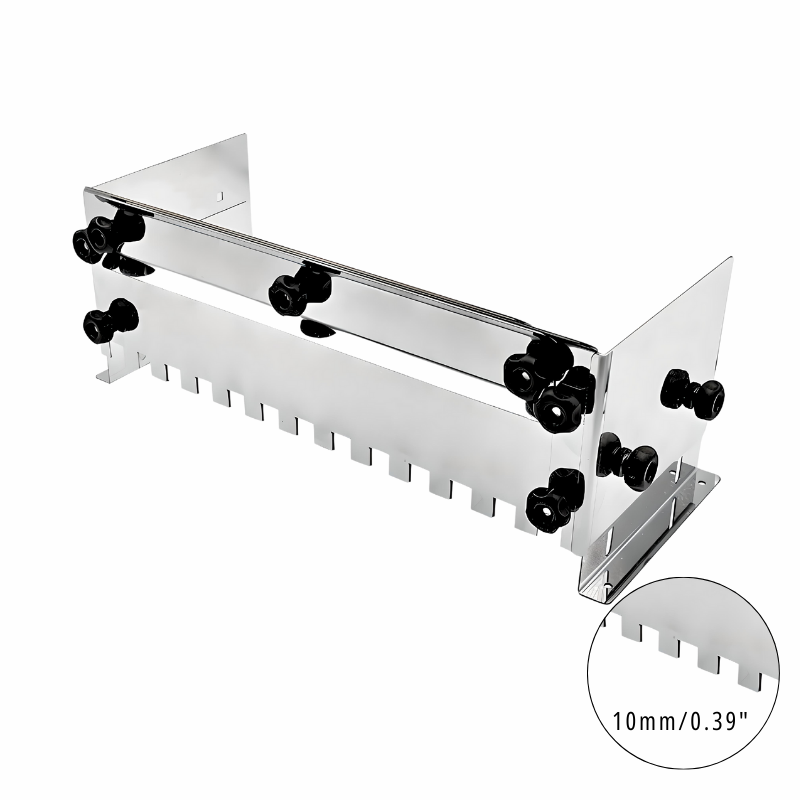
Completely dismountable. The teeth width and height 8x8mm, 10x10 mm, 12x12 mm, 14x14mm. It is intended for laying tiles of different sizes from 33 to 60 cm.
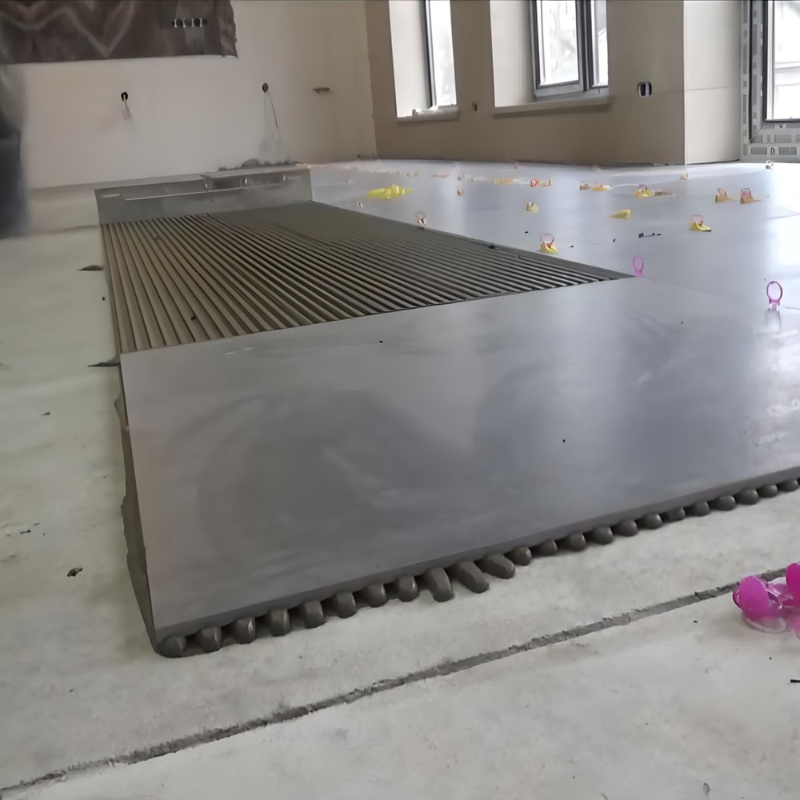
Adjustable notched trowel is a modern tool designed for professional and fast tile laying. It is ideal for applying adhesive to the floor, walls and directly onto the tiles, simplifying the process and ensuring excellent results.
Benefits of the tool:
Universal application: suitable for adhesive application on floors, walls and directly on tiles. Suitable for all types of tile adhesives.
Increased speed and quality of work: speeds up the adhesive application process several times, ensuring a uniform layer thickness without tile subsidence and additional adjustments.
Adjustable width: easily adjustable from 330 to 600 mm using the clips, allowing you to work with different tile sizes (from 33 to 60 cm). For smaller tiles, there is a partition which is included in the kit.
Reliable and durable: made of 1.5 mm thick stainless steel, resistant to corrosion and abrasion.
Careful work: reduces contamination and ensures a cleaner and more professional styling compared to conventional tools.
Compact and easy to store: the design is completely disassembled for easy transport and storage.
Adjustable notched tile trowel - the ideal choice for speeding up your work and achieving professional results!
Adhesive application methods:
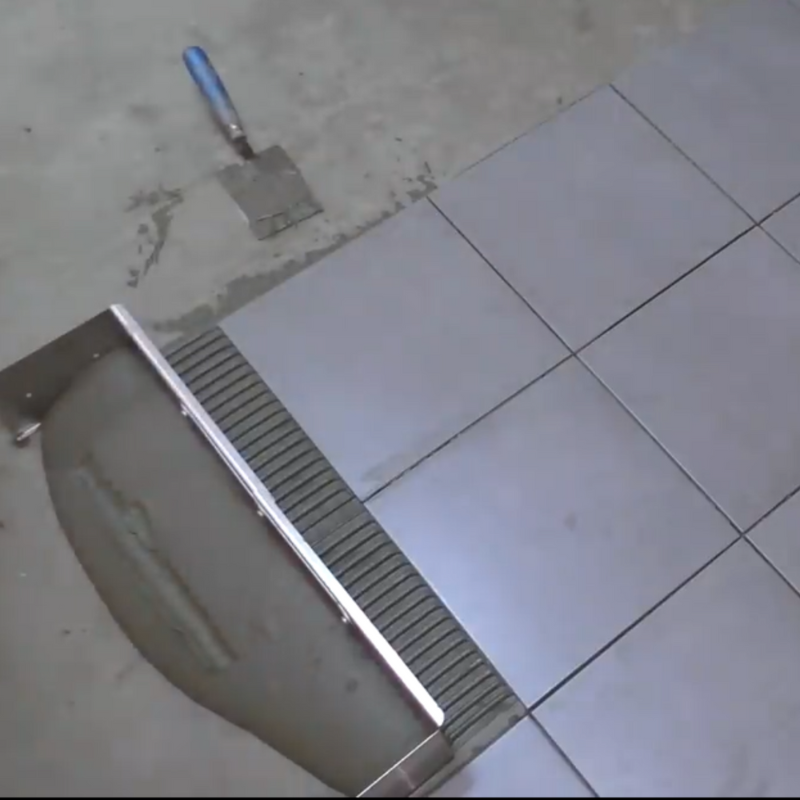
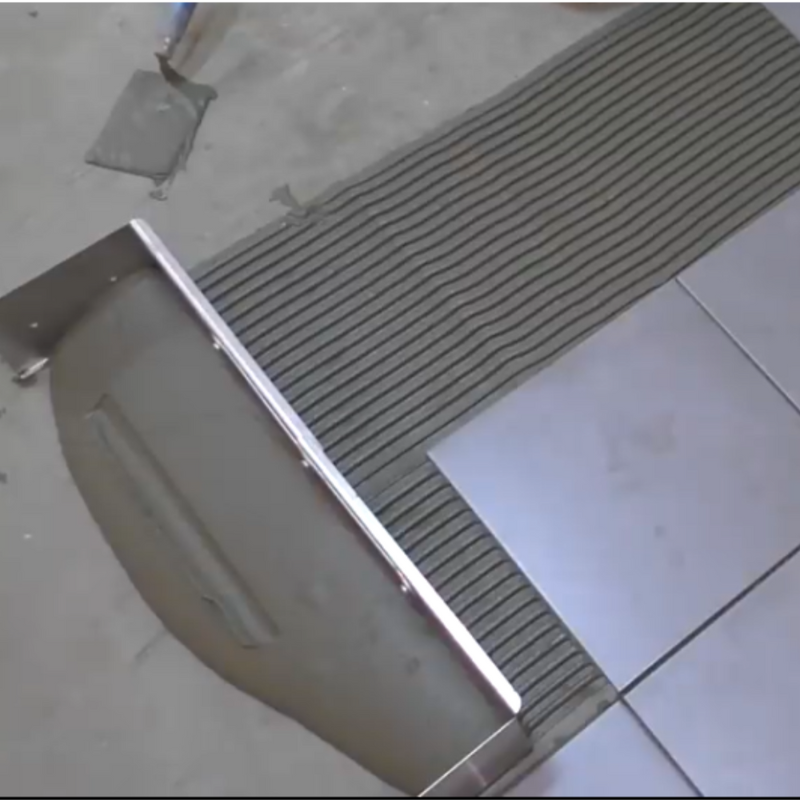
Method 1. Applying glue to the floor under the tile.
1. Loosen the nuts. Set the width of the comb (the applied layer) and tighten the nuts.
2. Put the glue inside.
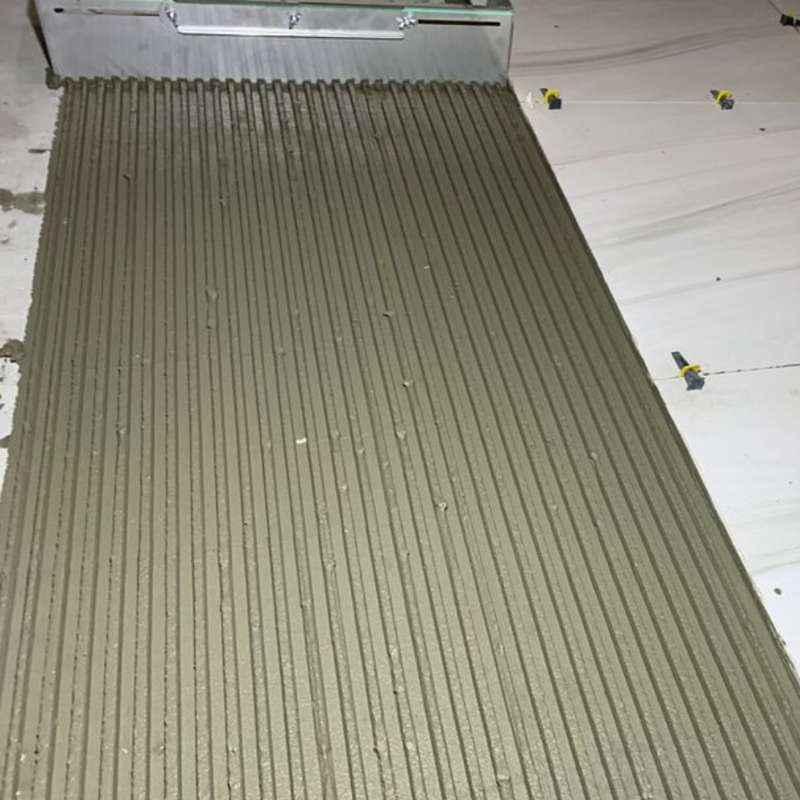
3. Stretch the comb creating relief "bed" for the tile.
4. Lay the tile on the prepared surface.
The result is a smooth layer of glue of the desired width close to the finished row. The laid tile is not dirty.
Method 2. Applying glue to the tile.
1. Fit the unit to a flat surface that can be tightened and that will not scratch the tile (OSB, wooden plywood, plasterboard, wooden top, etc.).
2. Put the glue on the tile and stretch it out.
The result - each tile is covered with smooth grooves of glue. The front surface is clean.
During breaks in operation slightly rinse the device with water (or put in water).

