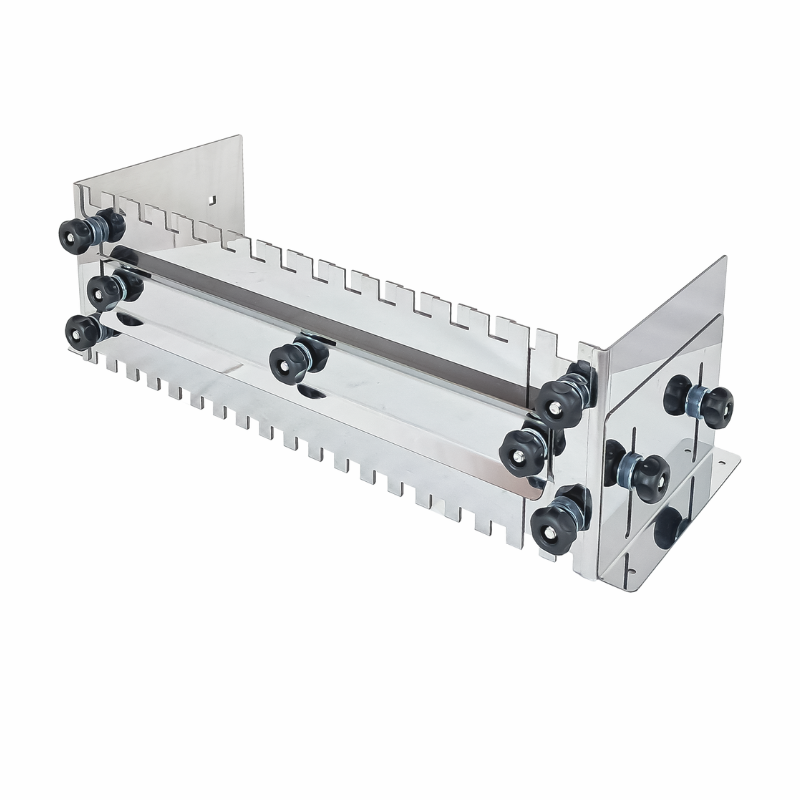
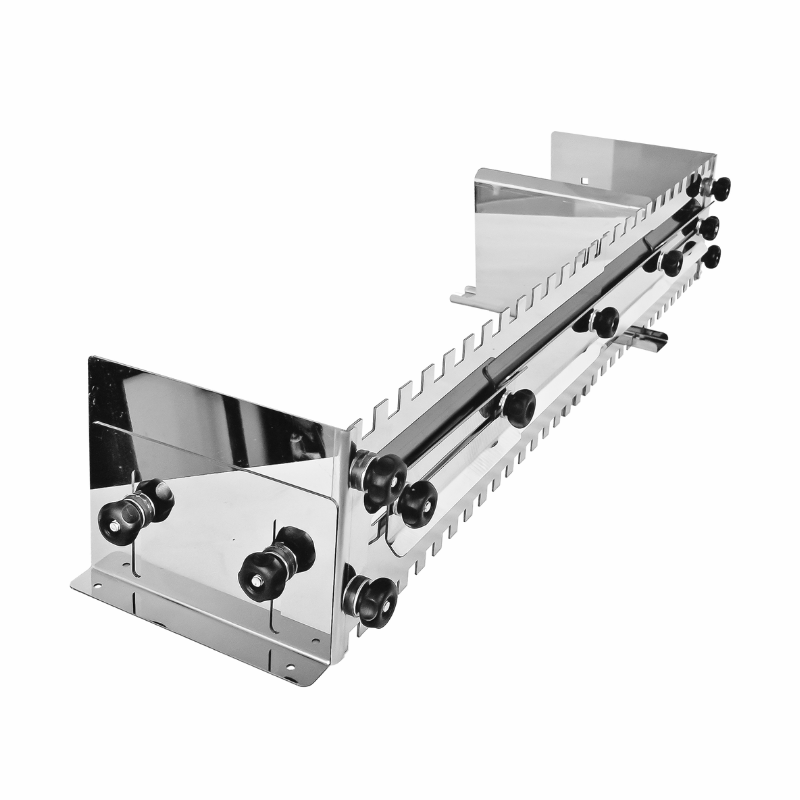
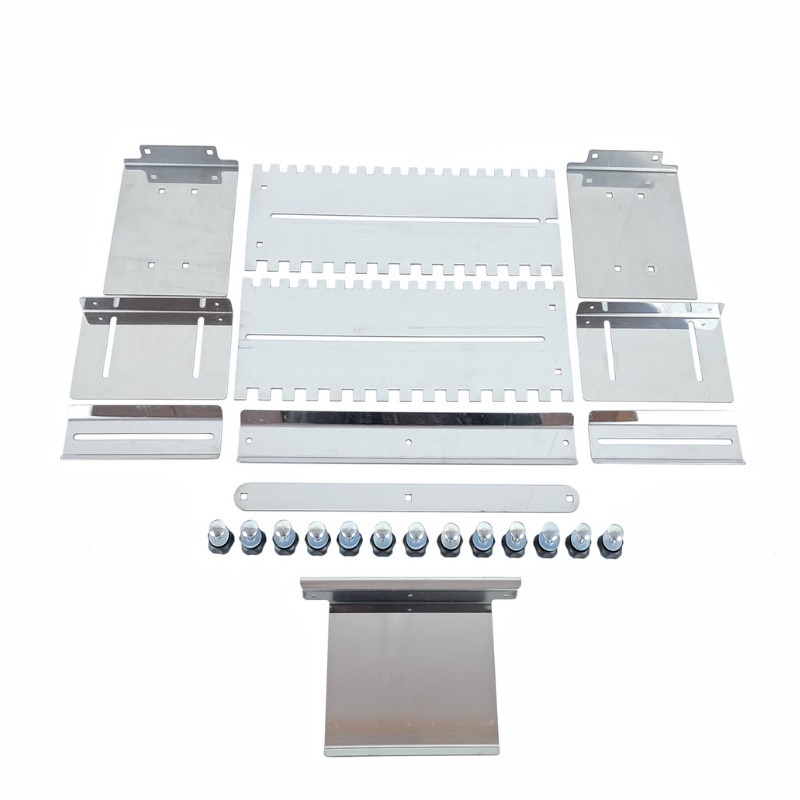
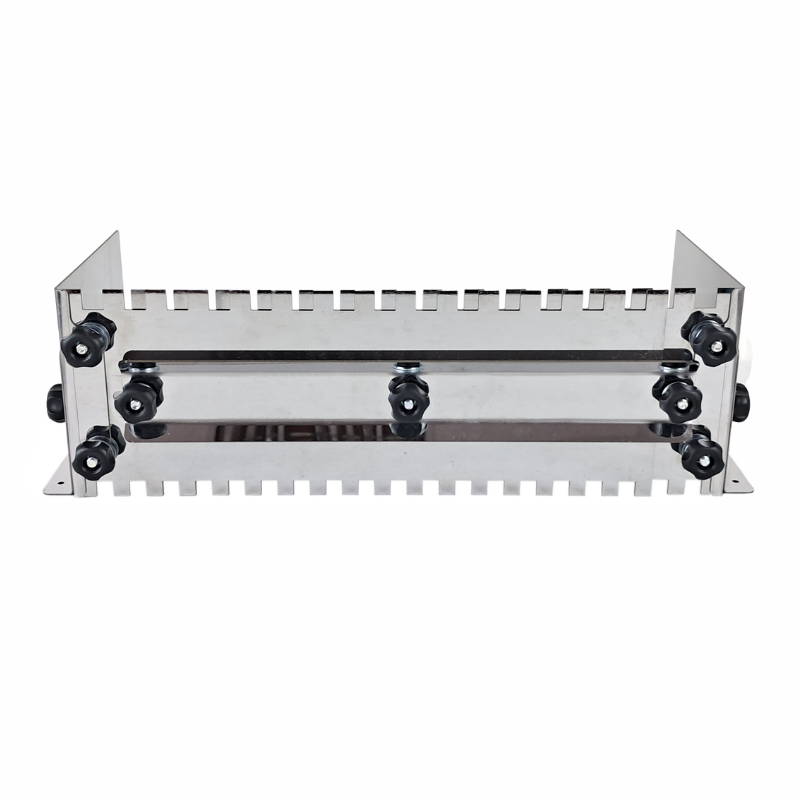
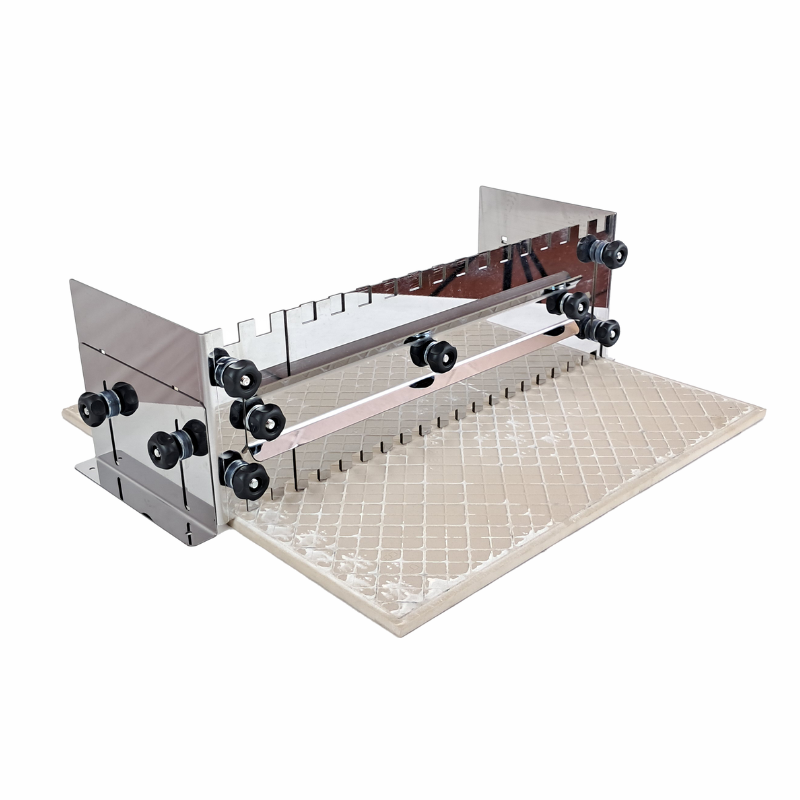
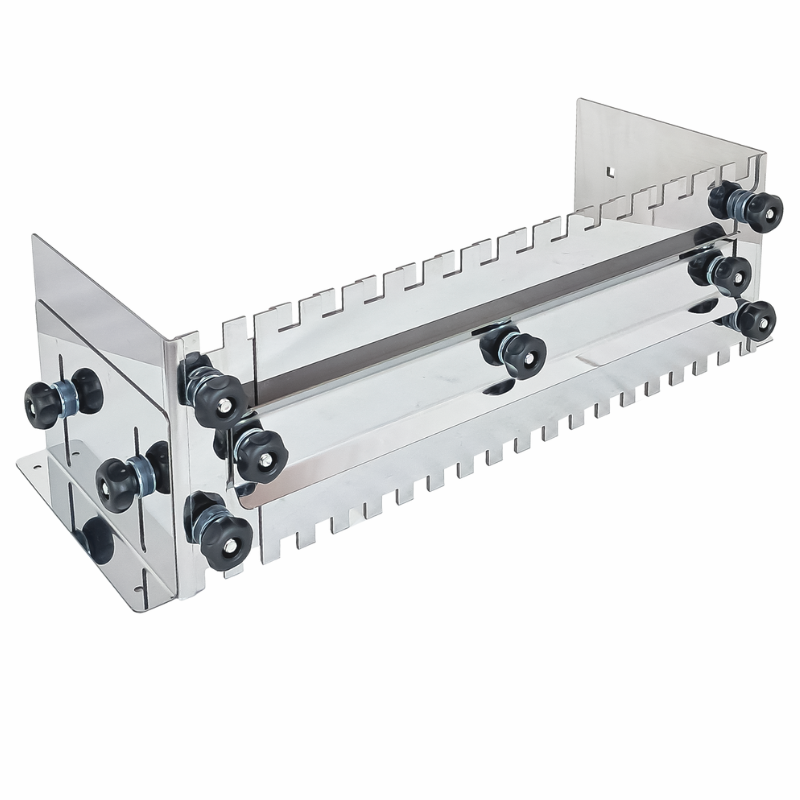
Two-side adjustable notched tile trowel (from 33cm to 60 cm).
Two-side adjustable notched tile trowel (from 33cm to 60 cm). is backordered and will ship as soon as it is back in stock.
Couldn't load pickup availability
Delivery and Shipping
Delivery and Shipping
Free Delivery on orders over £50.00
Description
Description
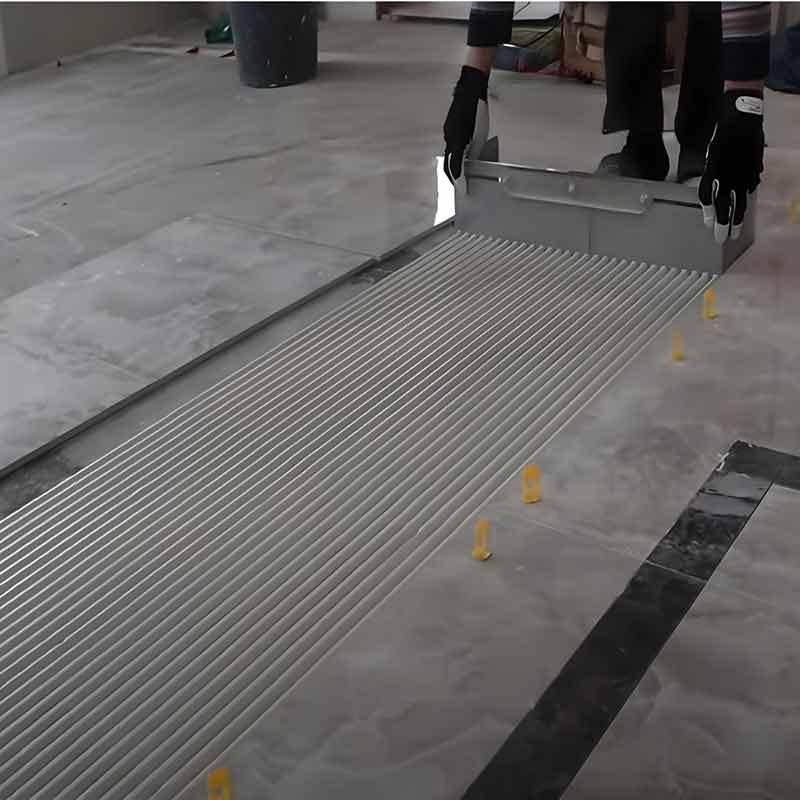
A device for even, quick and clean application of adhesive to the floor.
Key Features:
- Completely dismountable.
- Spreader for laying tiles (up to 60 cm) on floor and tiles.
- Made of 1.5mm thick stainless steel.
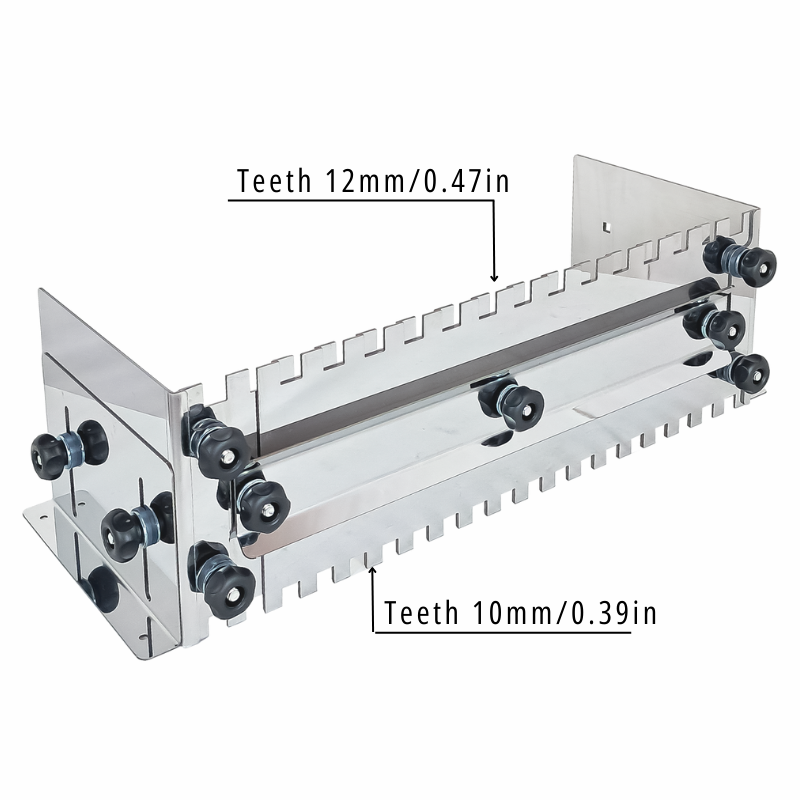
- Tines are 10mm and 12mm wide and high (layer width is adjustable).
- The width of the trowel is 600cm.
- The height is 150mm.
-
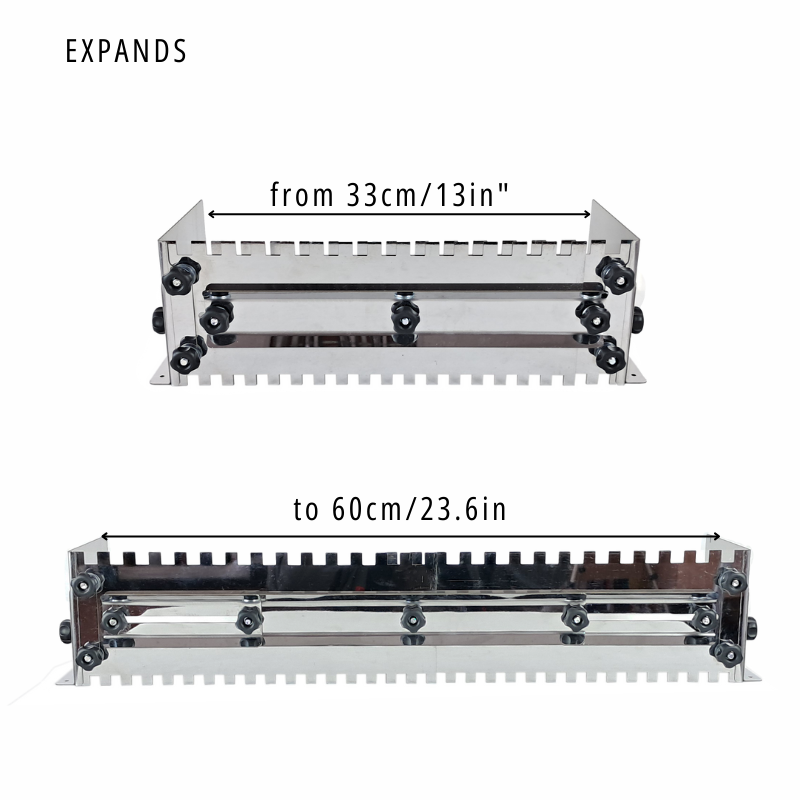
Designed for laying tiles of various sizes from 33cm to 60cm. (If the tile size is smaller, an additional insert, which is included in the kit, is used).
-
The design is fully collapsible, making it easy to transport.
Description:
Introducing the Two-Sided Tile Adhesive Spreader, which greatly simplifies tiling work. The serrated tooth of the Trowel Box allows the adhesive to be applied both in the floor and wall and directly onto the tiles. The Adjustable notched tile trowel can be used with all tile adhesives.
This tiling spreader is tailored for tiles ranging from 33 to 60 cm, offering seamless installation.
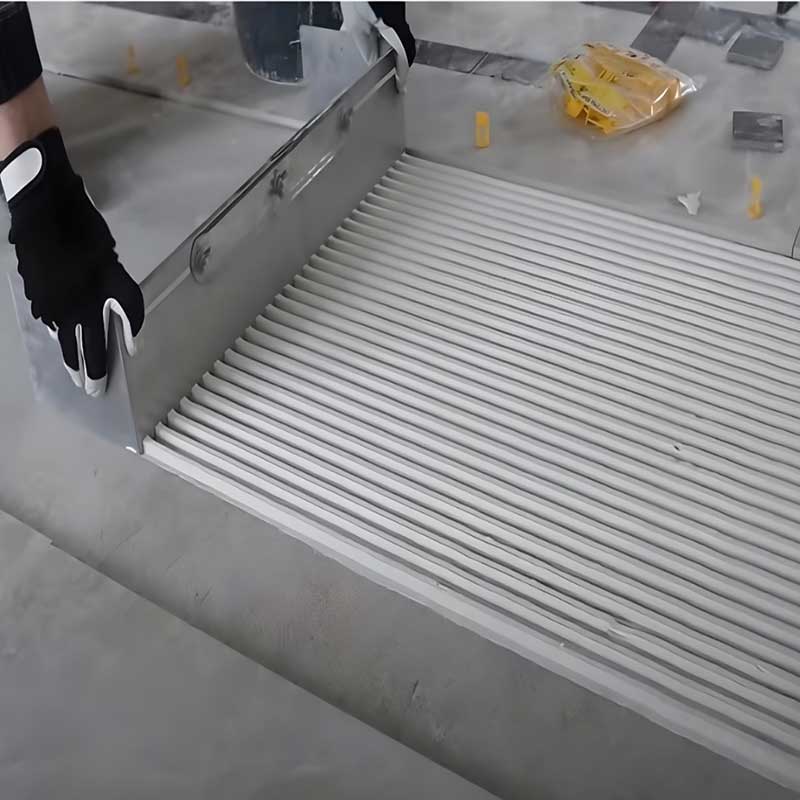
With the notched tile trowel, the glue application process on the floor is not only accelerated but also elevated in quality. This notched tile trowel ensures a consistent adhesive layer thickness across the entire length, eliminating the need for tile samples and reapplication. The meticulous application process with the comb surpasses traditional gear spatulas in carefulness.
Cleanliness is also an important factor. When using a tile trowel, the application process is much neater than with conventional toothed trowels.
The width of the applied layer is customizable with convenient locks, ranging from 330 mm to 600 mm. Crafted from 1.5mm thick stainless steel, the comb boasts increased durability, resistance to abrasion.
Application Process:
Method 1: Apply adhesive to the floor under the tiles.
- Assemble the tile laying comb. Adjust the width of the comb (applied layer) and tighten the nuts.
- Apply the adhesive inside.
- Pull the comb through to create a scalloped ‘bed’ for the tiles.
- Lay the tiles on the prepared surface.
The result is an even layer of adhesive of the correct width, close to the finished row. The laid tiles remain clean.
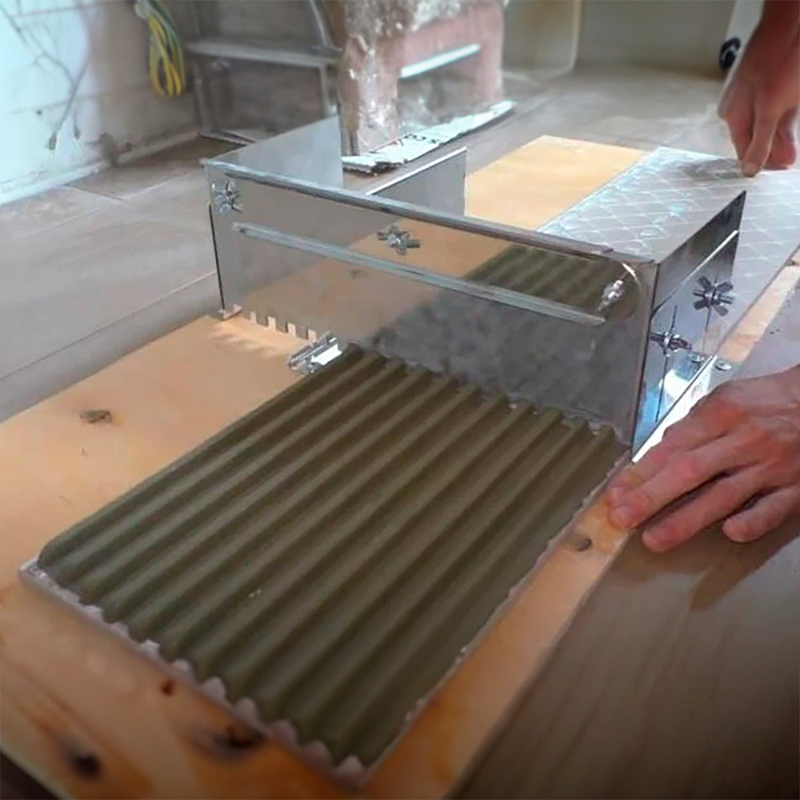
Method 2: Applying the adhesive to the tiles.
- Secure the comb with clamps or self-tapping screws to the improvised adhesive application machine.
- Attach the comb to the OSB or plywood using self-tapping screws, aligning it with the desired length of tile.
- Place the tiles under the tines, pressing them against one edge of the comb.
- Secure the tines to the tiles using the clips on the sides of the comb.
- Apply the adhesive to the tiles within the comb and push the tiles through the comb for a precise and efficient result.
The result is that each tile is covered with even grooves of adhesive. The front surface remains clean.

